Monday, January 30, 2017

New Becca Soft Light Blurring Powder- Swatch and First Impression


When I was at Sephora the other day I took a look at the new Becca Soft Light Blurring Powder that is out for spring. It's $38 USD or $46 CND, and it's a powder that is supposed to be a universally flattering shade named Golden Hour. The powder is supposed to blur imperfections, eliminate shine, add extra dimension to the face, and add a subtle radiance. It sounds counterintuitive to have it both eliminate shine and add it, but I suppose it's possible.


The packaging on this powder is huge. I have small hands, but I did find this slightly difficult to get a grip around. It's a large transparent plastic rectangle with a slightly odd opening mechanism for the lid. You turn it side-ways than pull up, if you continue to turn it it will close again.
The powder is a peach-gold colour that is finely milled and is dispensed through a sifter. It felt light-weight when I swatched it.
Left bare skin, Right swatched Golden Hour Soft Light Blurring Powder
On the skin the orange tint to the powder goes away leaving instead a lovely light gold. In the swatch above I layered the product a couple times so it could be seen in a photograph, but I think it could be lightly applied for an all-over glow. Just keep in mind it will be glowy- this definetly isn't as satin as their glow metre depicted on the display indicates. 

I think this product might be good if you're looking for a loose all-over glow or a less intense highlight shade. In purpose it reminded me of the Hourglass Ambient Lighting Powders- though I don't know how it would perform in comparison. For me personally I liked the powder but I don't know if I'd like it all over my face- I might have to try that sometime to see if it really does blur imperfections, and to see how much glow it actually imparts there versus what my hand showed. 

Have you tried this product? What do you think? Does it both eliminate shine and add radiance? Let me know! :)

Disclaimer: The widget at the top contains an affiliate link, and brings you to the page on Sephora. I get a whole 5 cents if you click it. Mainly though the picture is there so you can see a professional shot of the product.

Sunday, January 29, 2017

Anastasia Beverly Hills- Matte eyeshadow swatches

When I was asking around about people's favourite matte eyeshadow formula, Anastasia Beverly Hills was one that was brought up again and again. And I've never tried them! So I decided I needed to rectify this immediately and went off to swatch and play with these at Sephora.

Each shade below was on my bare skin, with the pigment built up on my finger than swatched in the same spot twice.

L-R: Baby Cakes, Buon Fresco, Stone, Fawn, Ash Brown, Burnt Orange
L-R: Burnt Orange, Sienna, Noir, Custard, Warm Taupe, Caramel, Hot Chocolate, Smoke
L-R: Dusty Rose, Fresh, Birkin, Blazing, Orange Soda, Red Earth
Overall they are pretty impressive. Some of the shades swatched better than others (generally the darker shades were better than the lighter ones). Blazing in particular had fantastic pigmentation, as did Burnt Orange, Hot Chocolate and Smoke. Noir the matte black I'd pass on as it wasn't that great in terms of pigmentation and creamy texture.

The only shade they didn't have from the matte shades was deep plum, the whole tester was missing, making me think someone likely swiped it. I did include Dusty Rose in the swatches even though it's labeled a velvet because it didn't have any of the sheen of the other velvet shades- it looks matte to me.

Do you have any of the Anastasia Beverly Hills eyeshadows? Any favourites from the line?

Disclaimer: The widget link at the top is an affiliated link. I get five whole cents if you click it. Mainly I'm using it for the nice professional photo.

Interested in seeing more swatches from Anastasia Beverly Hills? You can see the Duochromes from the singles swatched here.

Anastasia Beverly Hills- Duo-chrome Single Eyeshadows Swatches


This is the second group of swatches from Anastasia Beverly Hills single eyeshadow line. Previously I swatched all the matte shades from the singles in the permanent line, you can see that post here. Today is the smallest group of swatches, the four duo-chrome shades.
L-R: Electro, Iridescent Purple, China Rose, Dragonfly
The four duo-chrome shades are Electro a light cool-pink with purple reflect, Iridescent Purple a medium to dark cool purple with a slightly lighter purple sheen, China Rose a gorgeous copper-pink with light orange reflect, and Dragonfly a blue teal with green-teal reflect. Of the four shades China Rose was the most pigmented and rich. Electro also had good pigmentation and both Iridescent Purple and Dragonfly needed to be built up more.

L-R: Dragonfly, Iridescent Purple, Electro, China Rose
Here are the four shades watched on my fingertips, to give  a better idea of the duo-chrome each shade has. 

Of the four I would highly recommend China Rose, it went on really well in the swatch and had such great pigmentation. None of the shades are ones that are truly unique in the cruelty-free market, (Urban Decay comes to mind. If anyone is interested I can do comparisons at some point) but all are nice shades.

Do you have any ABH eyeshadows? Any favourites?

Disclaimer: The widget link at the top is an affiliate link. I get a whole 5 cents if you click it. Mainly it's there so you can see the Dragonfly eyeshadow professionally photographed.

Friday, January 27, 2017

Jaydancin Mineral Foundation- Review


Today's review is for a Mineral Foundation by a small Canadian company called Jaydancin. They're a skincare and make-up brand that focus on all natural and organic ingredients. Plus, they're a local brand for me which is really cool.

As you can see from the picture, the foundation is a loose powder. I have the foundation in shade 1 and they have quite a few foundation shades, though only five are available through their website. They have two sizes available the larger at 9 grams for $18 CND, and the smaller 3 grams for $10 CND. Pictured above is the 3 gram size.

Ingredients: Rice Powder, Titanium Dioxide, Zinc Oxide, Kaolin Clay, Iron Oxides

I do really like the ingredients in this foundation. Both Titanium and Zinc oxide give a bit of sun protection and the Kaolin clay is good for oil absorption. 

The foundation is what I would call sheer coverage- it doesn't cover anything major but it evens out your skin-tone a bit and still looks like skin. It does fairly well on my oily skin through-out the day, needing to be re-touched in the afternoon. 
Bare Face
With Jaydancin Foundation (nothing else)
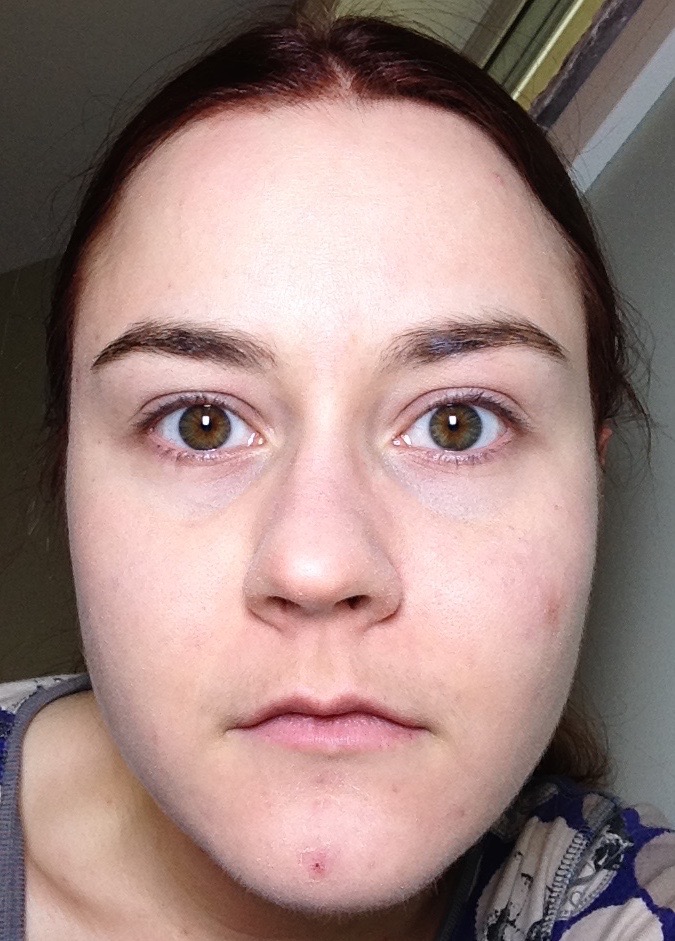
As you can see if you've got skin issues (acne, post-acne marks, etc) to cover like me this isn't going to cut it on it's own, but with some concealer it looks nice. It's very natural looking and can easily pass for a no make-up look. 

The packaging is a tad small (3 gram) to work with but I do like the shifter that comes with it. It's very easy to move and you can actually get a decent amount of powder out without spilling it all. It's a nice change from sifters that don't let enough out or having to deal with all the powder at once.

Overall as long as you go into it knowing that the foundation is sheer it's a nice foundation. It blends in well and stays all day, even if you do need something extra for oil control part way through. 

Sprite Rating: 8/10, mainly because it doesn't have enough coverage for me and sometimes the loose powder is a bit hard to work with in the size of the 3 gram packaging. 


Wednesday, January 25, 2017

DIY: Mineral Highlighter


This is a tutorial on how to make your own highlighter. It's the second of my DIY tutorial posts.

First you'll need some supplies. I purchased most of mine from TKB Trading or How to Make Cosmetics (they're both the same website). I like them because everything is fairly priced, they always have a small 'freebie' pack you can include in your order and you can purchase sample sizes of everything to try (which is often more than enough for a couple individual projects). (To add the freebie set, type free into the search bar and add the product to your cart).

What you'll absolutely need:
Recommended things:
Why these ingredients? Let me break it down.

Travel to Neptune or any highlight and shift is to provide the actual highlight and colouration to your finished product. Travel to Neptune is a blue to green shift which is the ethereal look I'm going for, but choose one that makes you happy. You can also use one of their Hi-Lite pigments which only flash one shade for example gold, or purple. The Hi-lite pigments are cheaper and work, but I love the look of the travel to pigments for more unique colours. This ingredient is going to be the majority of our highlighter so that you get excellent pigmentation.

For the base (or the parts that make the highlighter stick to your skin and last for a while)...

Boron Nitride is a white powder. It improves the 'slip' or creaminess of a product making it apply better (less patchy). Boron Nitride also helps with the adhesion- basically it increases the lasting power of the highlighter on your skin- so you get hours of wear instead of minutes.

Silica Microspheres are a translucent powder that does many things for the formula. They are slightly oil absorbent so they're great for my oily skin. They also increase the 'slip' of a powder. Silica spheres are light reflectors, and so will reduce the look of pores and wrinkles slightly too.

Magnesium Myristate is another soft translucent white powder. This product improves adhesion, slip, pressability (meaning if you are going to press this into a pan later it will work better), as well as helping to make the ingredients meld together better. Basically it helps the ingredients become one final product instead of just mixed together powders.

Kaolin Clay is white again, and another great oil absorber and thus a great choice if you have oily skin. It also helps with adhesion to the skin.

Allantoin is a skin protectant. It soothes the skin and you only need the smallest amount to make a difference. 

Now for the recipe, I broke this down into 20 scoops total with my tiny 0.1 gram scoop. This creates enough to fill a 36 mm pan about half-way when pressed. I don't recommend using a grinder on anything other than the Magnesium Myristate, Kaolin Clay or Allantoin as the others can be damaged if you grind them and won't feel right or possibly perform incorrectly.

Travel to Neptune pigment: 50% or 10 scoops
Boron Nitride: 20% or 4 scoops
Silica Microspheres: 20% or 4 scoops
Magnesium Myristate: 5% or 1 scoop
Kaolin Clay: ~ 4% or 3/4 scoop
Allantoin: ~1% or 1/4 scoop


1. Take your sieve and place it over your bowl. Place on your dust mask to avoid breathing in the powders. Measure out each amount of ingredient and empty through the sieve into the bowl. The sieve will make sure there are no clumps and make it easier to get an even mix.

2. Mix all the ingredients together with your small scoop.

3. Move the mixed ingredients into a small ziplock baggie. Squeeze, shake and move the baggie so that the ingredients are throughly and completely mixed. You can also use a clear small jar to do this if you want to keep the highlighter loose.

4. Optionally you can press the highlighter with just oil (i.e. jojoba oil) into a pan. I've not tried it with alcohol so I can't recommend that method. (See my tutorial on how to press powders: here)

5. Try it out! It should be smooth and pigmented. :) I have oily skin and I got hours worth of wear out of it. It was fairly easy to build up in pigmentation too.

The nice thing about making your own highlighter is you can specify exactly what you want it to look like and it's cheaper. You'll make a ton of product just with what is available in the sample bags purchased. For example the powders used in the recipe from TKB cost a total of $10.25 USD for the six sample size packages of the powders. If you use all of your travel to neptune pigment to create highlighter you can create a total of 5 grams of highlighter. If you use a Hi-Lite powder from TKB trading instead of one of the more expensive travel to pigments you can create a total of 12 grams of highlighter for $10.25 USD. A similar highlighter from NYX is $8 USD for 6 grams or the Make Up Geek one for $20 USD for 7 grams.

Well that's it! Let me know if this works for you if you decide to do it, I'd love to know how my recipe works for people other than myself. Also feel free to ask any questions. If you share the recipe please link and credit back to me- I worked hard to come up with the right percentages and ingredients. Until next time.

Disclaimer: I purchased all these products myself. At this time I'm not affiliated with any of the companies shown or mentioned.
SaveSaveSaveSaveSaveSave